During this experience of fixing this chair I have learned and obtained many new skills.
1. What was wrong with the chair?
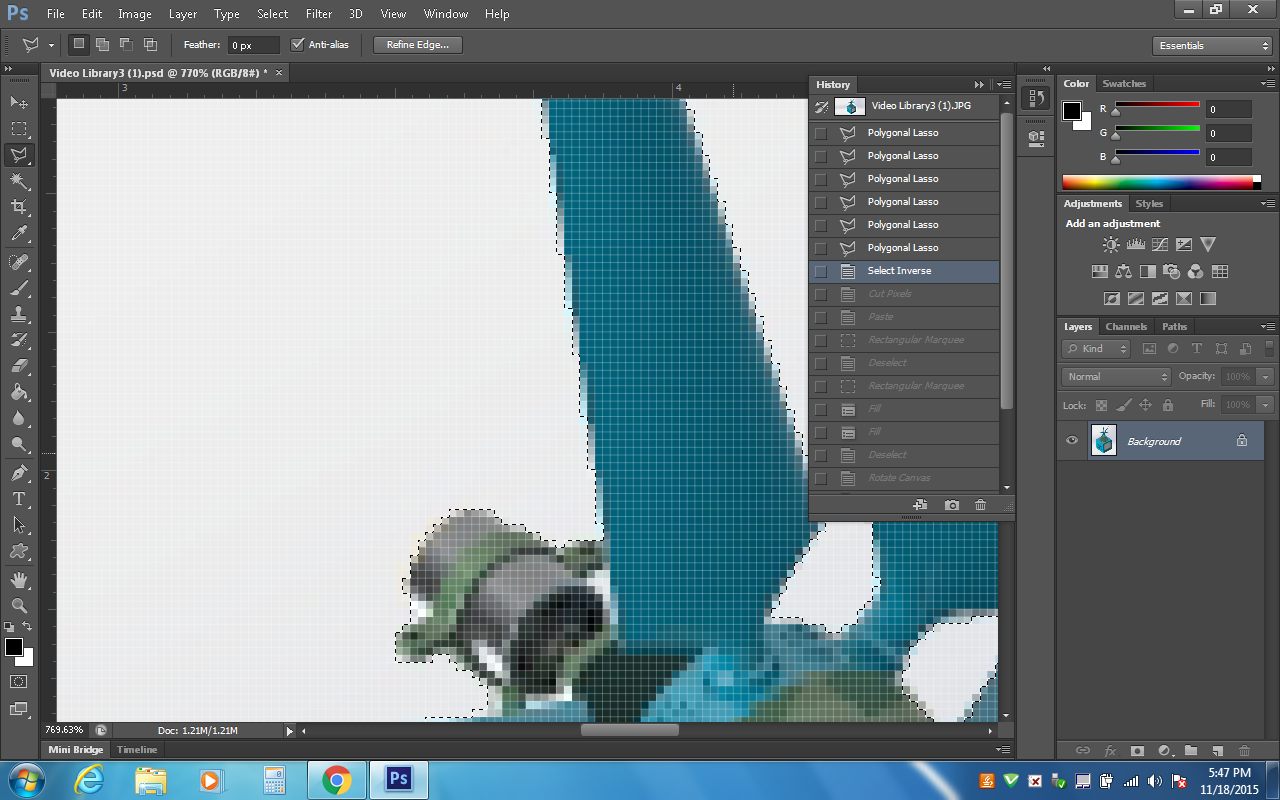
 |
| Credit: Photo Take by Kelly Coca |
Well, the chair was old and rusted, it had a ring that broke, so took the opportunity to gain experience with new tools and machines.
2. Well how are you going to cut out the legs of the chair?
Well we used a tool to cut of the welding spots where it held the legs.
3. We can see a lot of rust on the chair how did you get rid of that?
We used a machine that blasted glass, which cleans everything a metal has on the surface.
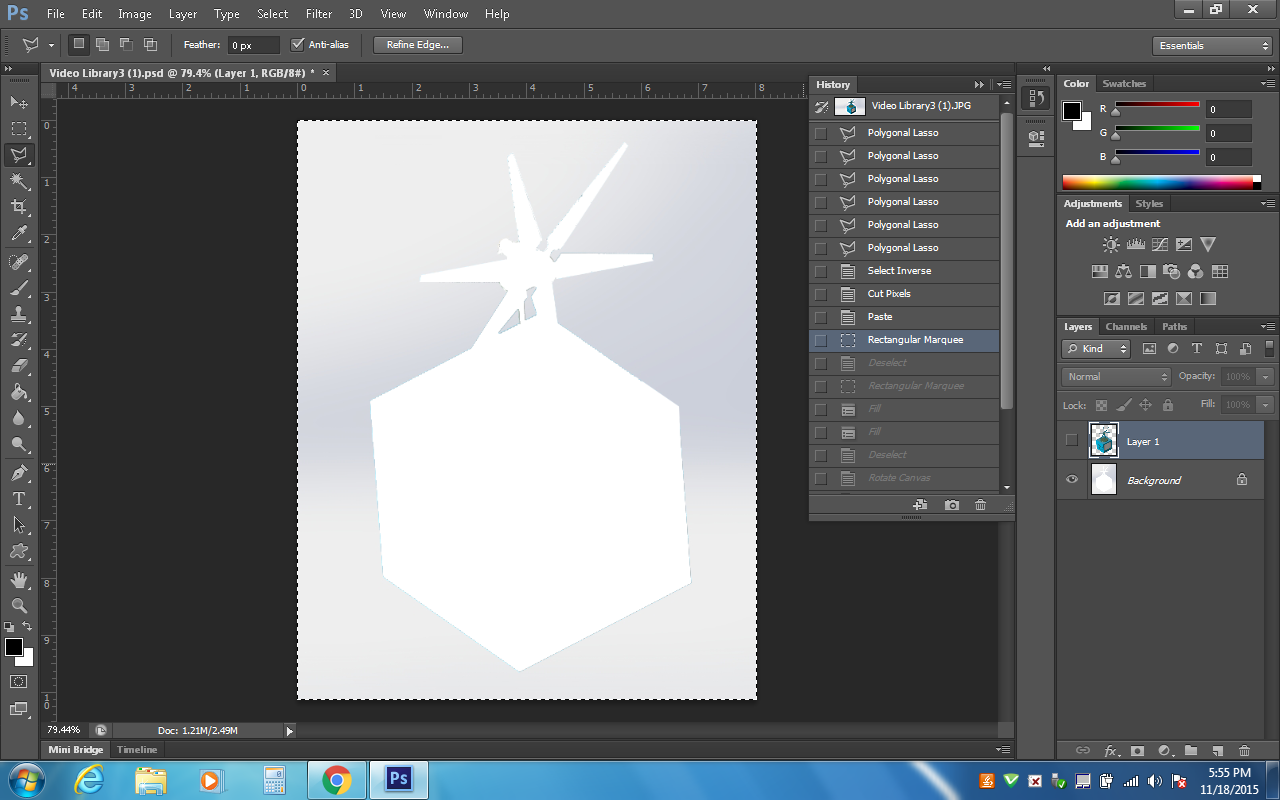
4. How are you going to hole the chair legs ?
 |
| Photo taken by Cruz Flores |
After much thinking of a way we came up with an idea, we made 4 samples of a metal that will hold the legs from moving.
5. What's the next step ?
Well, we are not going to use cardboard to hold the legs, so of curse the next step was to make the cardboard patters out of metal.
6. Well how did you get those shinny pieces of metal ?
We Recycled rusted pieces of metal that were laying around the shop.
7. How did you get the think cote of rust from the metal and make it shinny?
You can say it was a long process, me and my classmate Kelly spend around 40 minutes sanding the pieces of metal.
02/12/2016
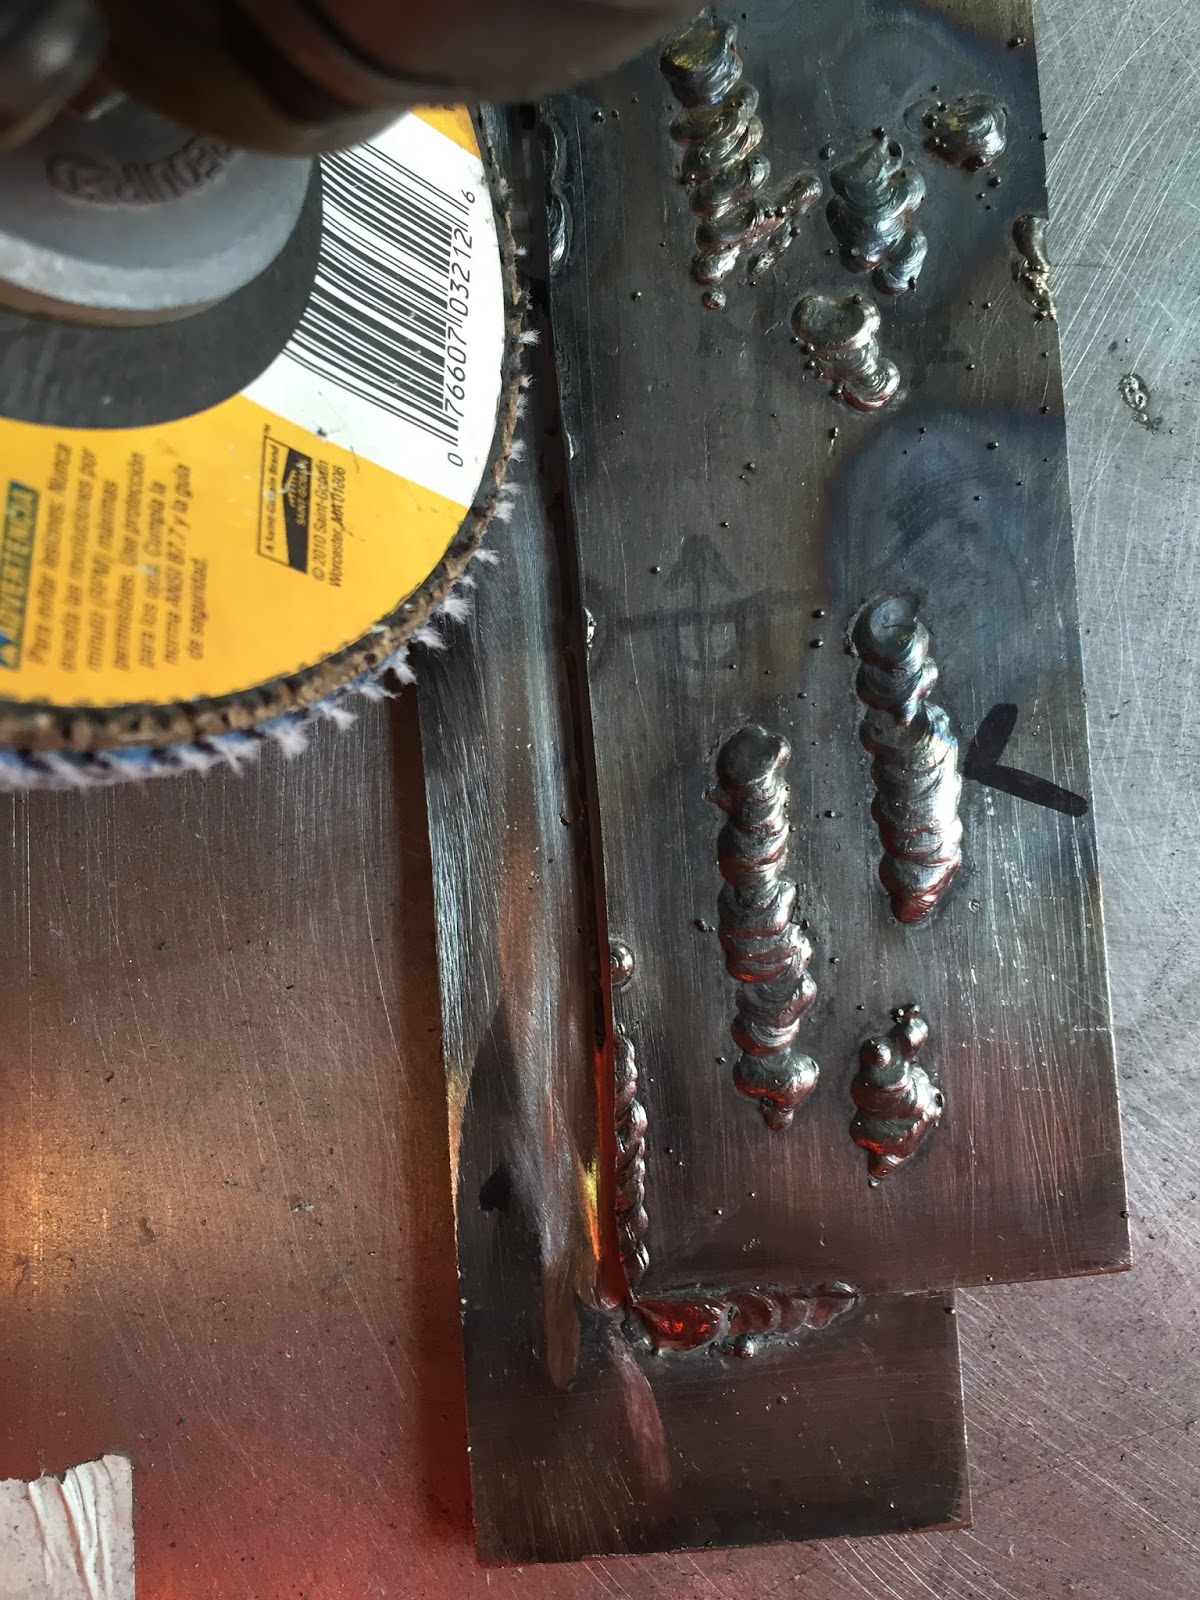
After we made the samples, we found out that we need to weld a part of the chair.
So the welding stage begun
1.What type of welding are you using?
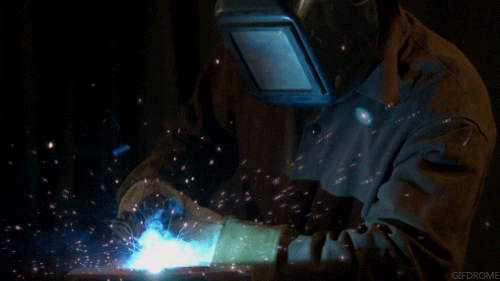 |
| http://giphy.com/gifs/industrial-welding-BzPnEA1de6rSM |
We used a MIG welder, (Gas metal arc welding (GMAW), sometimes referred to by its sub types metal inert gas (MIG)welding or metal active gas (MAG) welding, is a welding process in which an electric arc forms between a consumable wire electrode and the work piece metal(s), which heats the work piece metal(s), causing them to melt, and join.)
2.How does a MIG welder work?
 |
| https://www.google.com/search |
This Photo Explain how a MIG Welder works.
On what did you learn to weld?
We learned to weld on two pieces of metal on top of each other, which it is called a lap joint.
Well how did you do it ?
My teacher Mr.G thought us to do arcs.
How did it look when welding
It looked AMAZING!!!!
Did you have to cut another piece of metal when you had no more space?
No, we grinded the welding's to save time, you can check Kelly's blog, to learn about the grinder.
How did you start welding?
We started practicing with little dots.
How does welding help ?
Welding helps by bring together two pieces of metal, and combines it to be one, by connecting the sides.
This post is not yet done, we are still under progress of repairing the chair,
stay tuned for up dates